

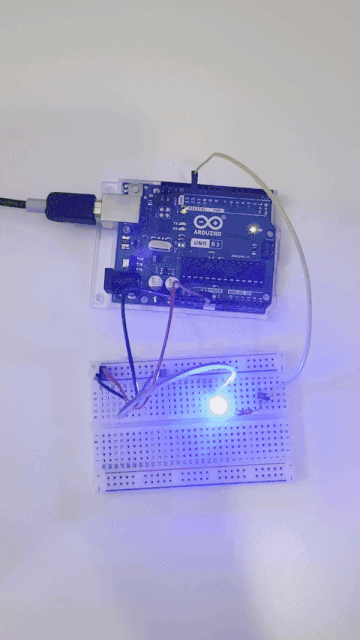
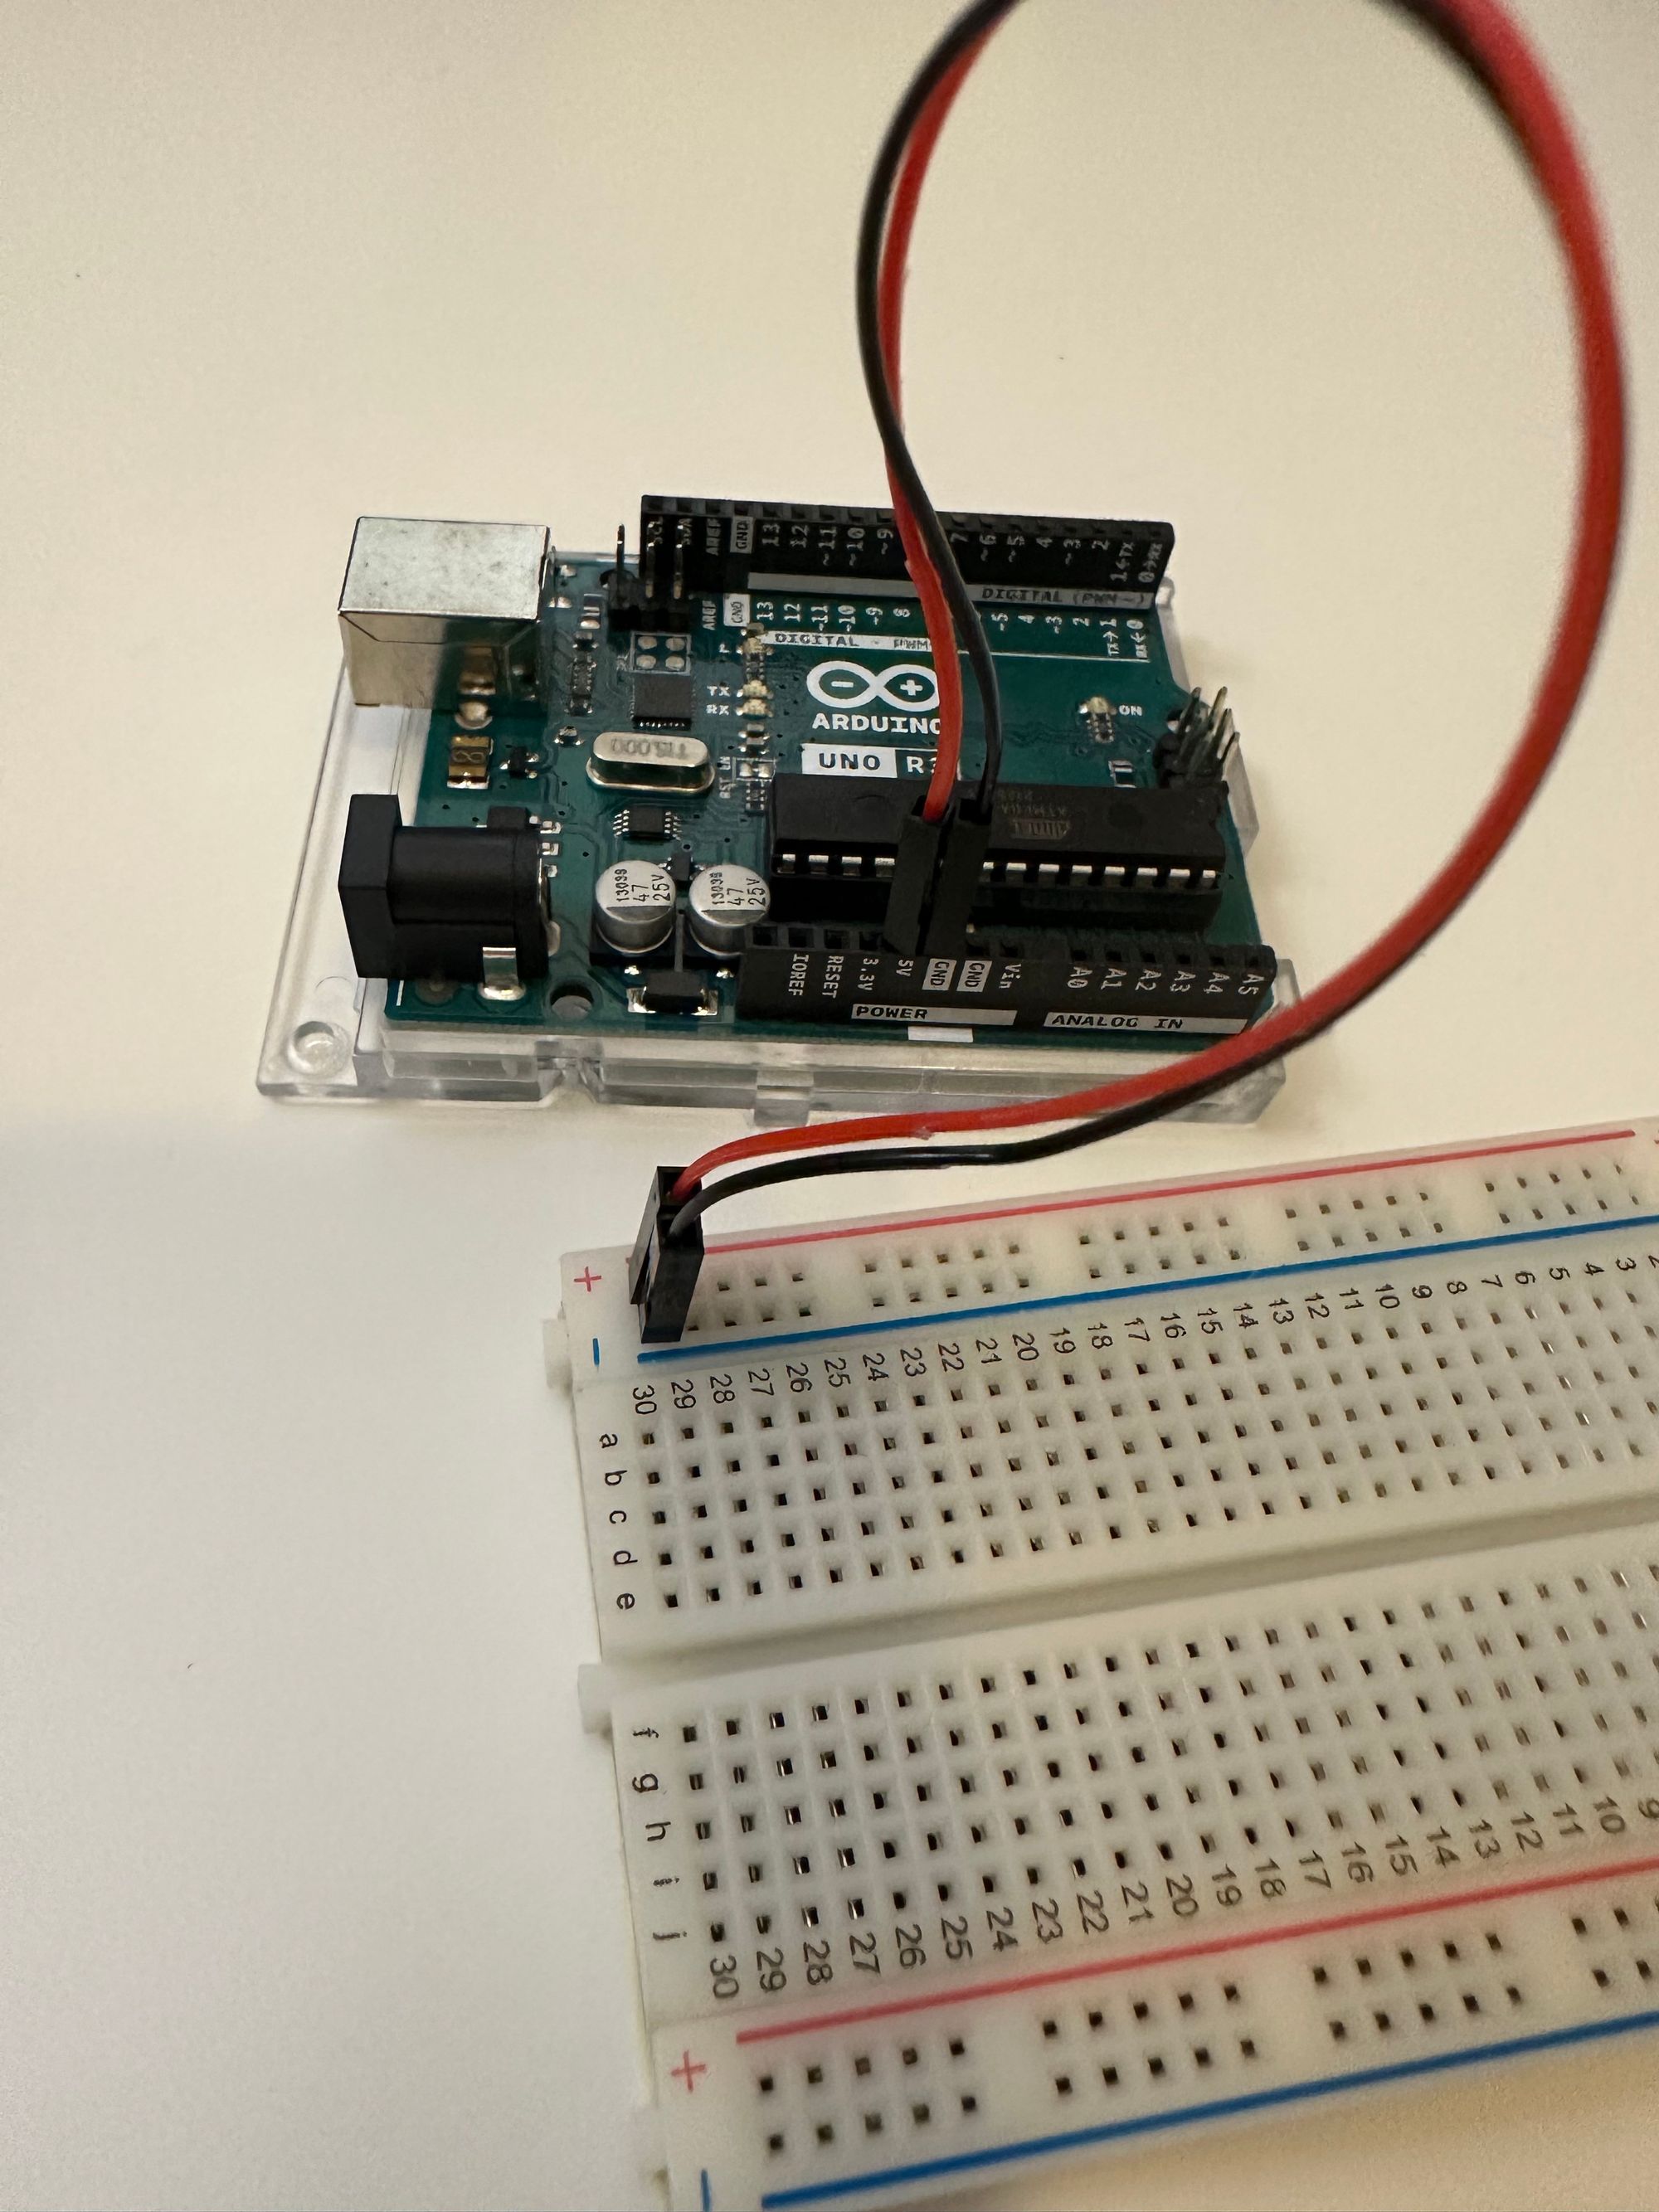
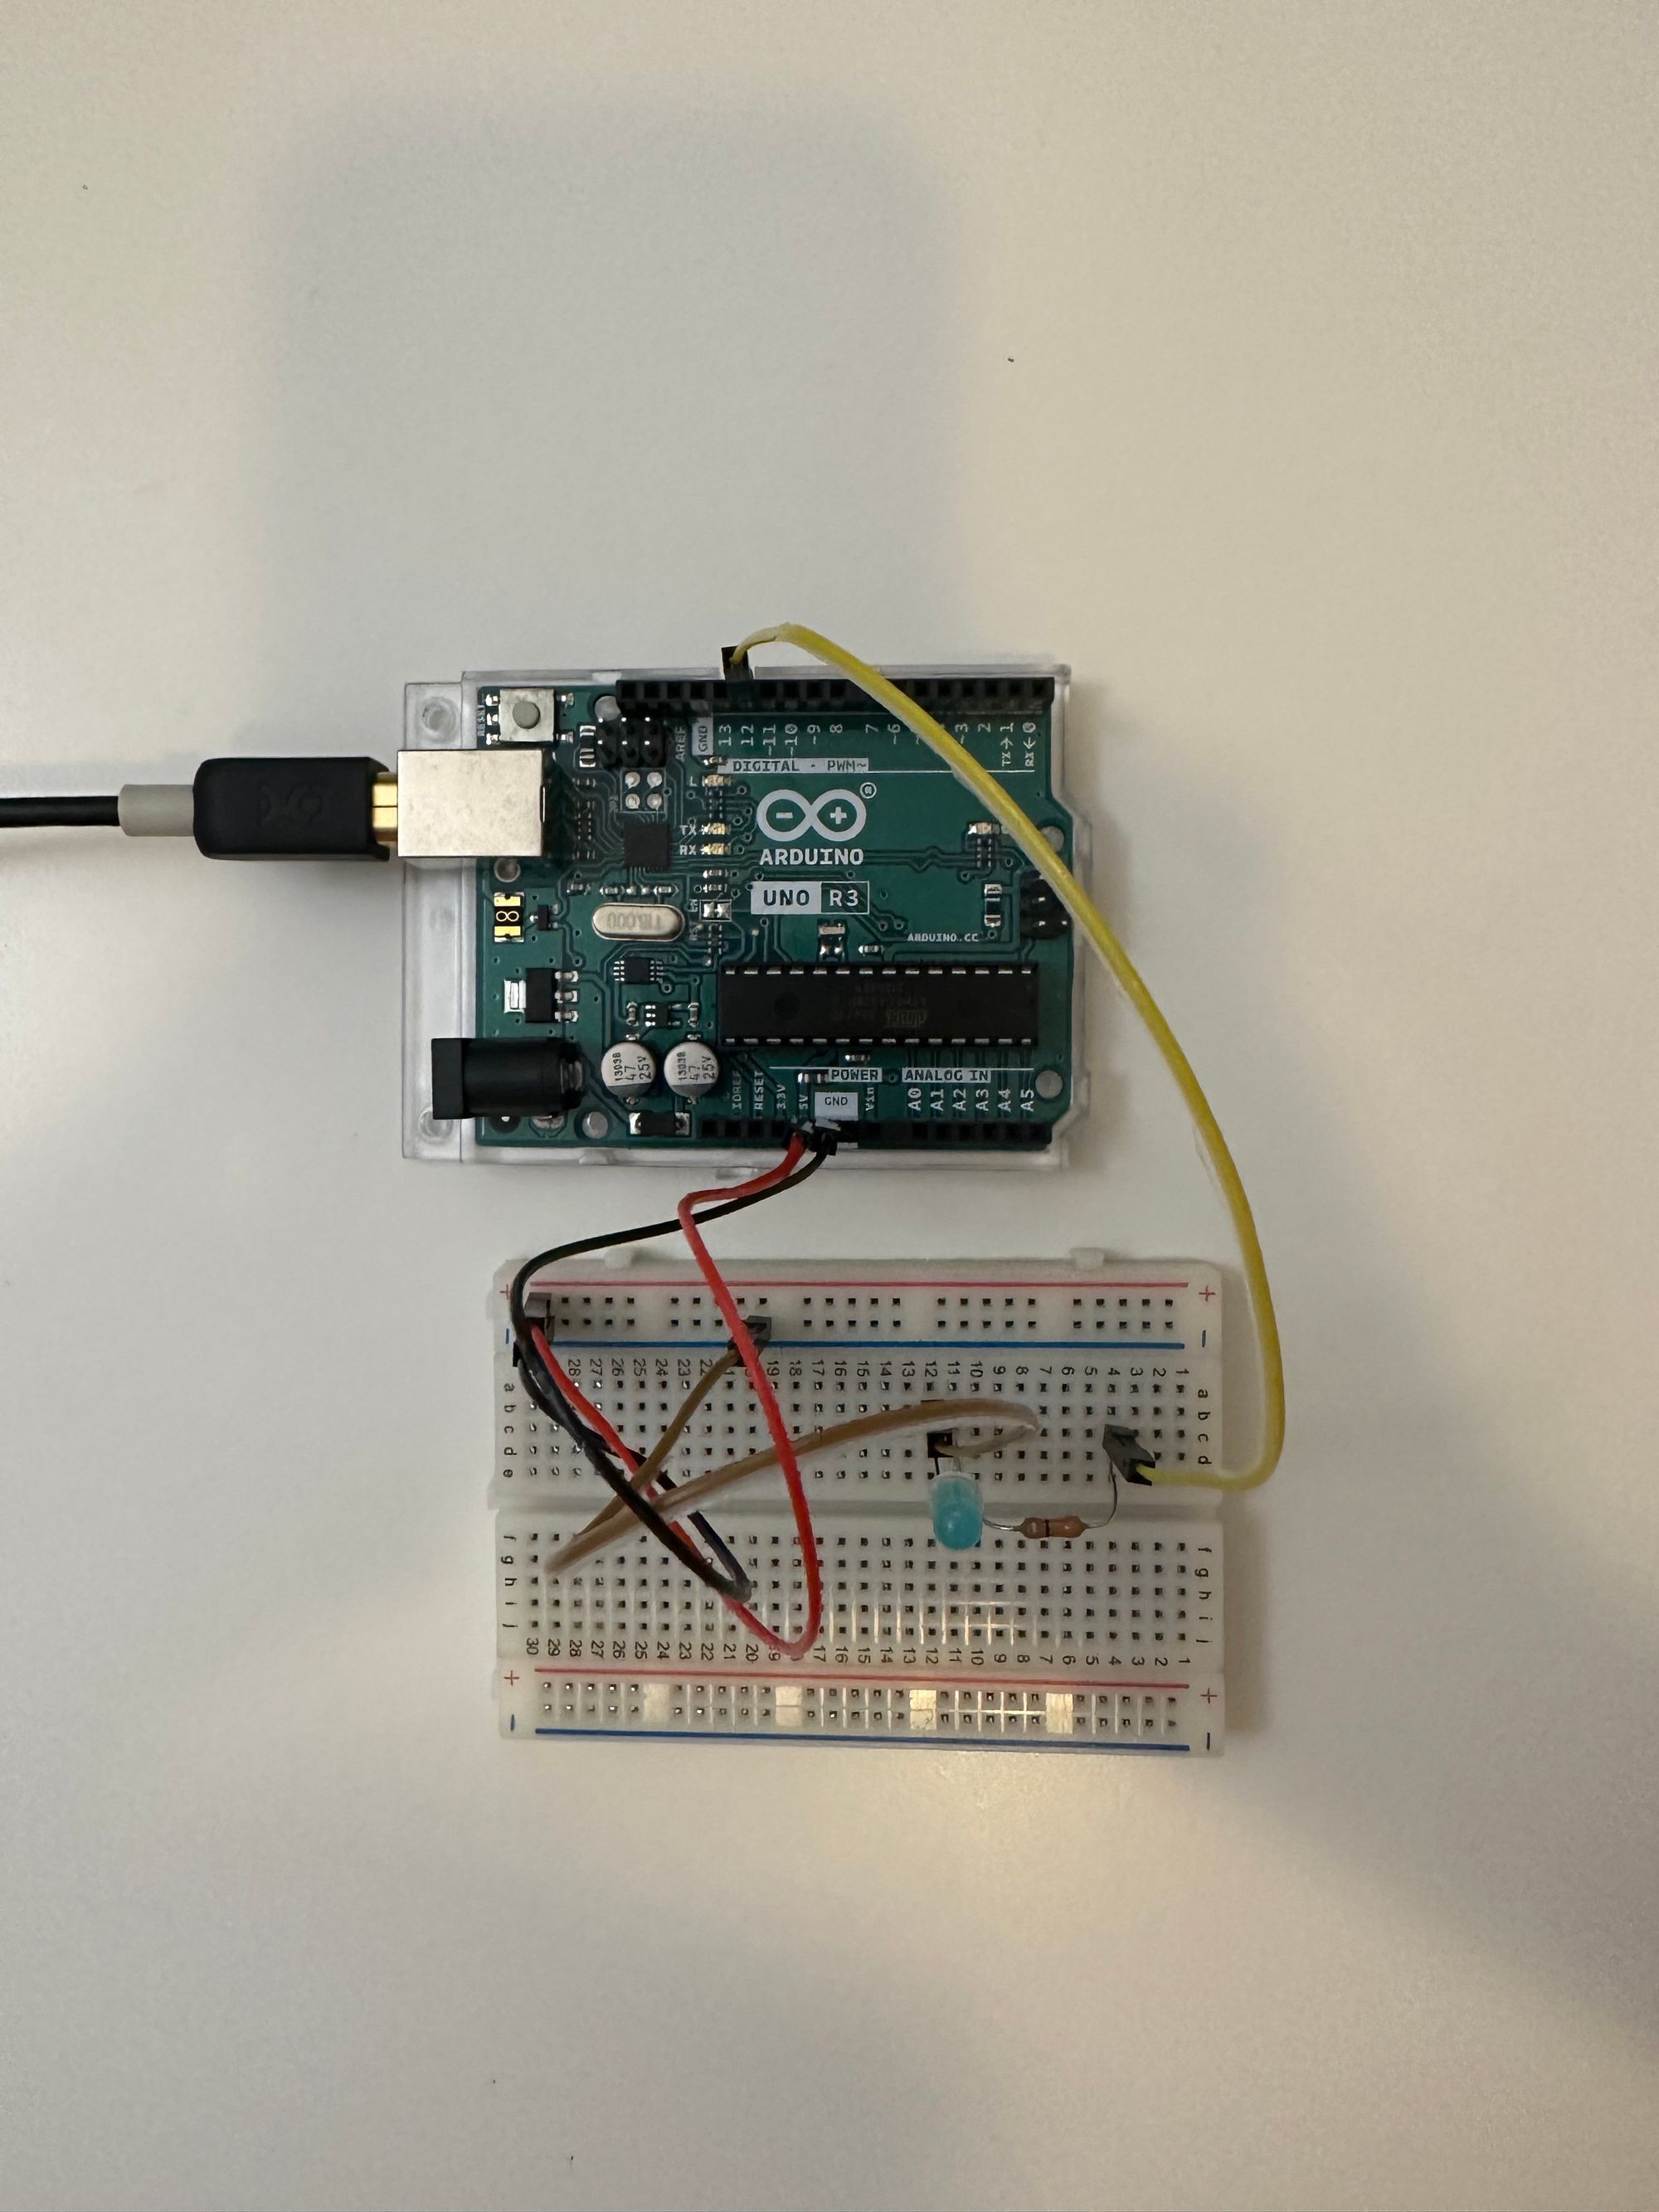
In class this week, we learned how to code the basic “Blink” in Arduino and connect it to the breadboard. I used to do this, but it was a long time ago, so it’s good to try the “Hello World!” of Arduino once again.
(I didn’t get a chance to take pictures and document the process in class, so I redo it at home.)
Code:
int ledPin = 12;
void setup() {
pinMode(ledPin, OUTPUT);
}
void loop() {
digitalWrite(ledPin, HIGH);
delay(1000);
digitalWrite(ledPin, LOW);
delay(1000);
}
C++
For the Inputs and Outputs assignment, I created a distance reader from a distance sensor (input) and an LCD display (output).
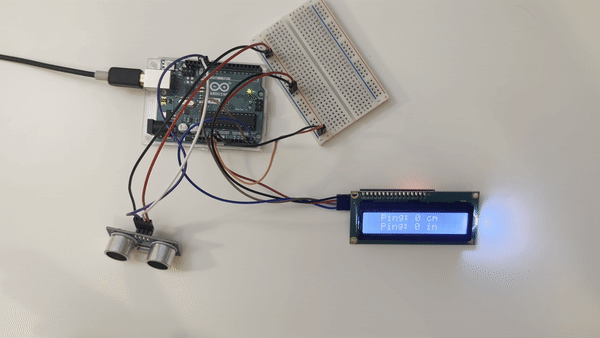
Code:
#include <LiquidCrystal_I2C.h>
#include <Wire.h>
#include <NewPing.h>
#define ECHO_PIN 12
#define TRIG_PIN 13
#define MAX_DIST 3000
int contrast = 100;
NewPing sonar(TRIG_PIN, ECHO_PIN, MAX_DIST);
LiquidCrystal_I2C lcd(0x27, 16, 2);
void setup() {
lcd.begin();
lcd.backlight();
lcd.clear();
lcd.setCursor(4,0);
pinMode(2, OUTPUT);
analogWrite(2, contrast);
}
void loop() {
unsigned int uS1 = sonar.ping_in();
unsigned int uS2 = sonar.ping_cm();
lcd.clear();
lcd.setCursor(2,0);
lcd.print("Ping: ");
lcd.print(uS2);
lcd.print(" cm");
lcd.setCursor(2,1);
lcd.print("Ping: ");
lcd.print(uS1);
lcd.print(" in");
lcd.setCursor(1,0);
delay(1000);
}
C++